 Frostbatch
How to prepare a folder of photos for your website on a Mac
Choose the size and format once. Check the crops. Export the batch.
A folder of photos can be ready to publish and still be awkward to upload: different shapes, large files, and a few HEIC images your website will not accept. The useful first step is deciding where the images will appear.
I build Frostbatch, the Mac app used in this guide. It processes images locally. This walkthrough focuses on preparing exports; keep your original photos for future edits.
1. Start with the space the image needs to fill
A full-width banner and a small product card need different exports. Check the dimensions in your website template or ask whoever built the page. For example, a photo shown at 800 CSS pixels wide might use a 1600-pixel export for a 2× display. That is a starting point, not a rule for every image.
Do not enlarge a small source just to reach a number. If your website already generates several image sizes, follow its upload recommendations instead of making those variants by hand.
In Frostbatch, add your images and choose Archive so the processed files go into a ZIP and the originals remain unchanged.
2. Decide whether to keep the whole photo or fill a shape
- Original keeps the source dimensions unless you apply an individual crop. Use it when you only need to change format or compression.
- Fit keeps the whole image. Enable width and leave height automatic to preserve its proportions. If you set both dimensions, Frostbatch adds padding where needed to keep that canvas size.
- Fill fills the requested width and height, cropping the excess. Use it for a row of matching square product cards, for example.
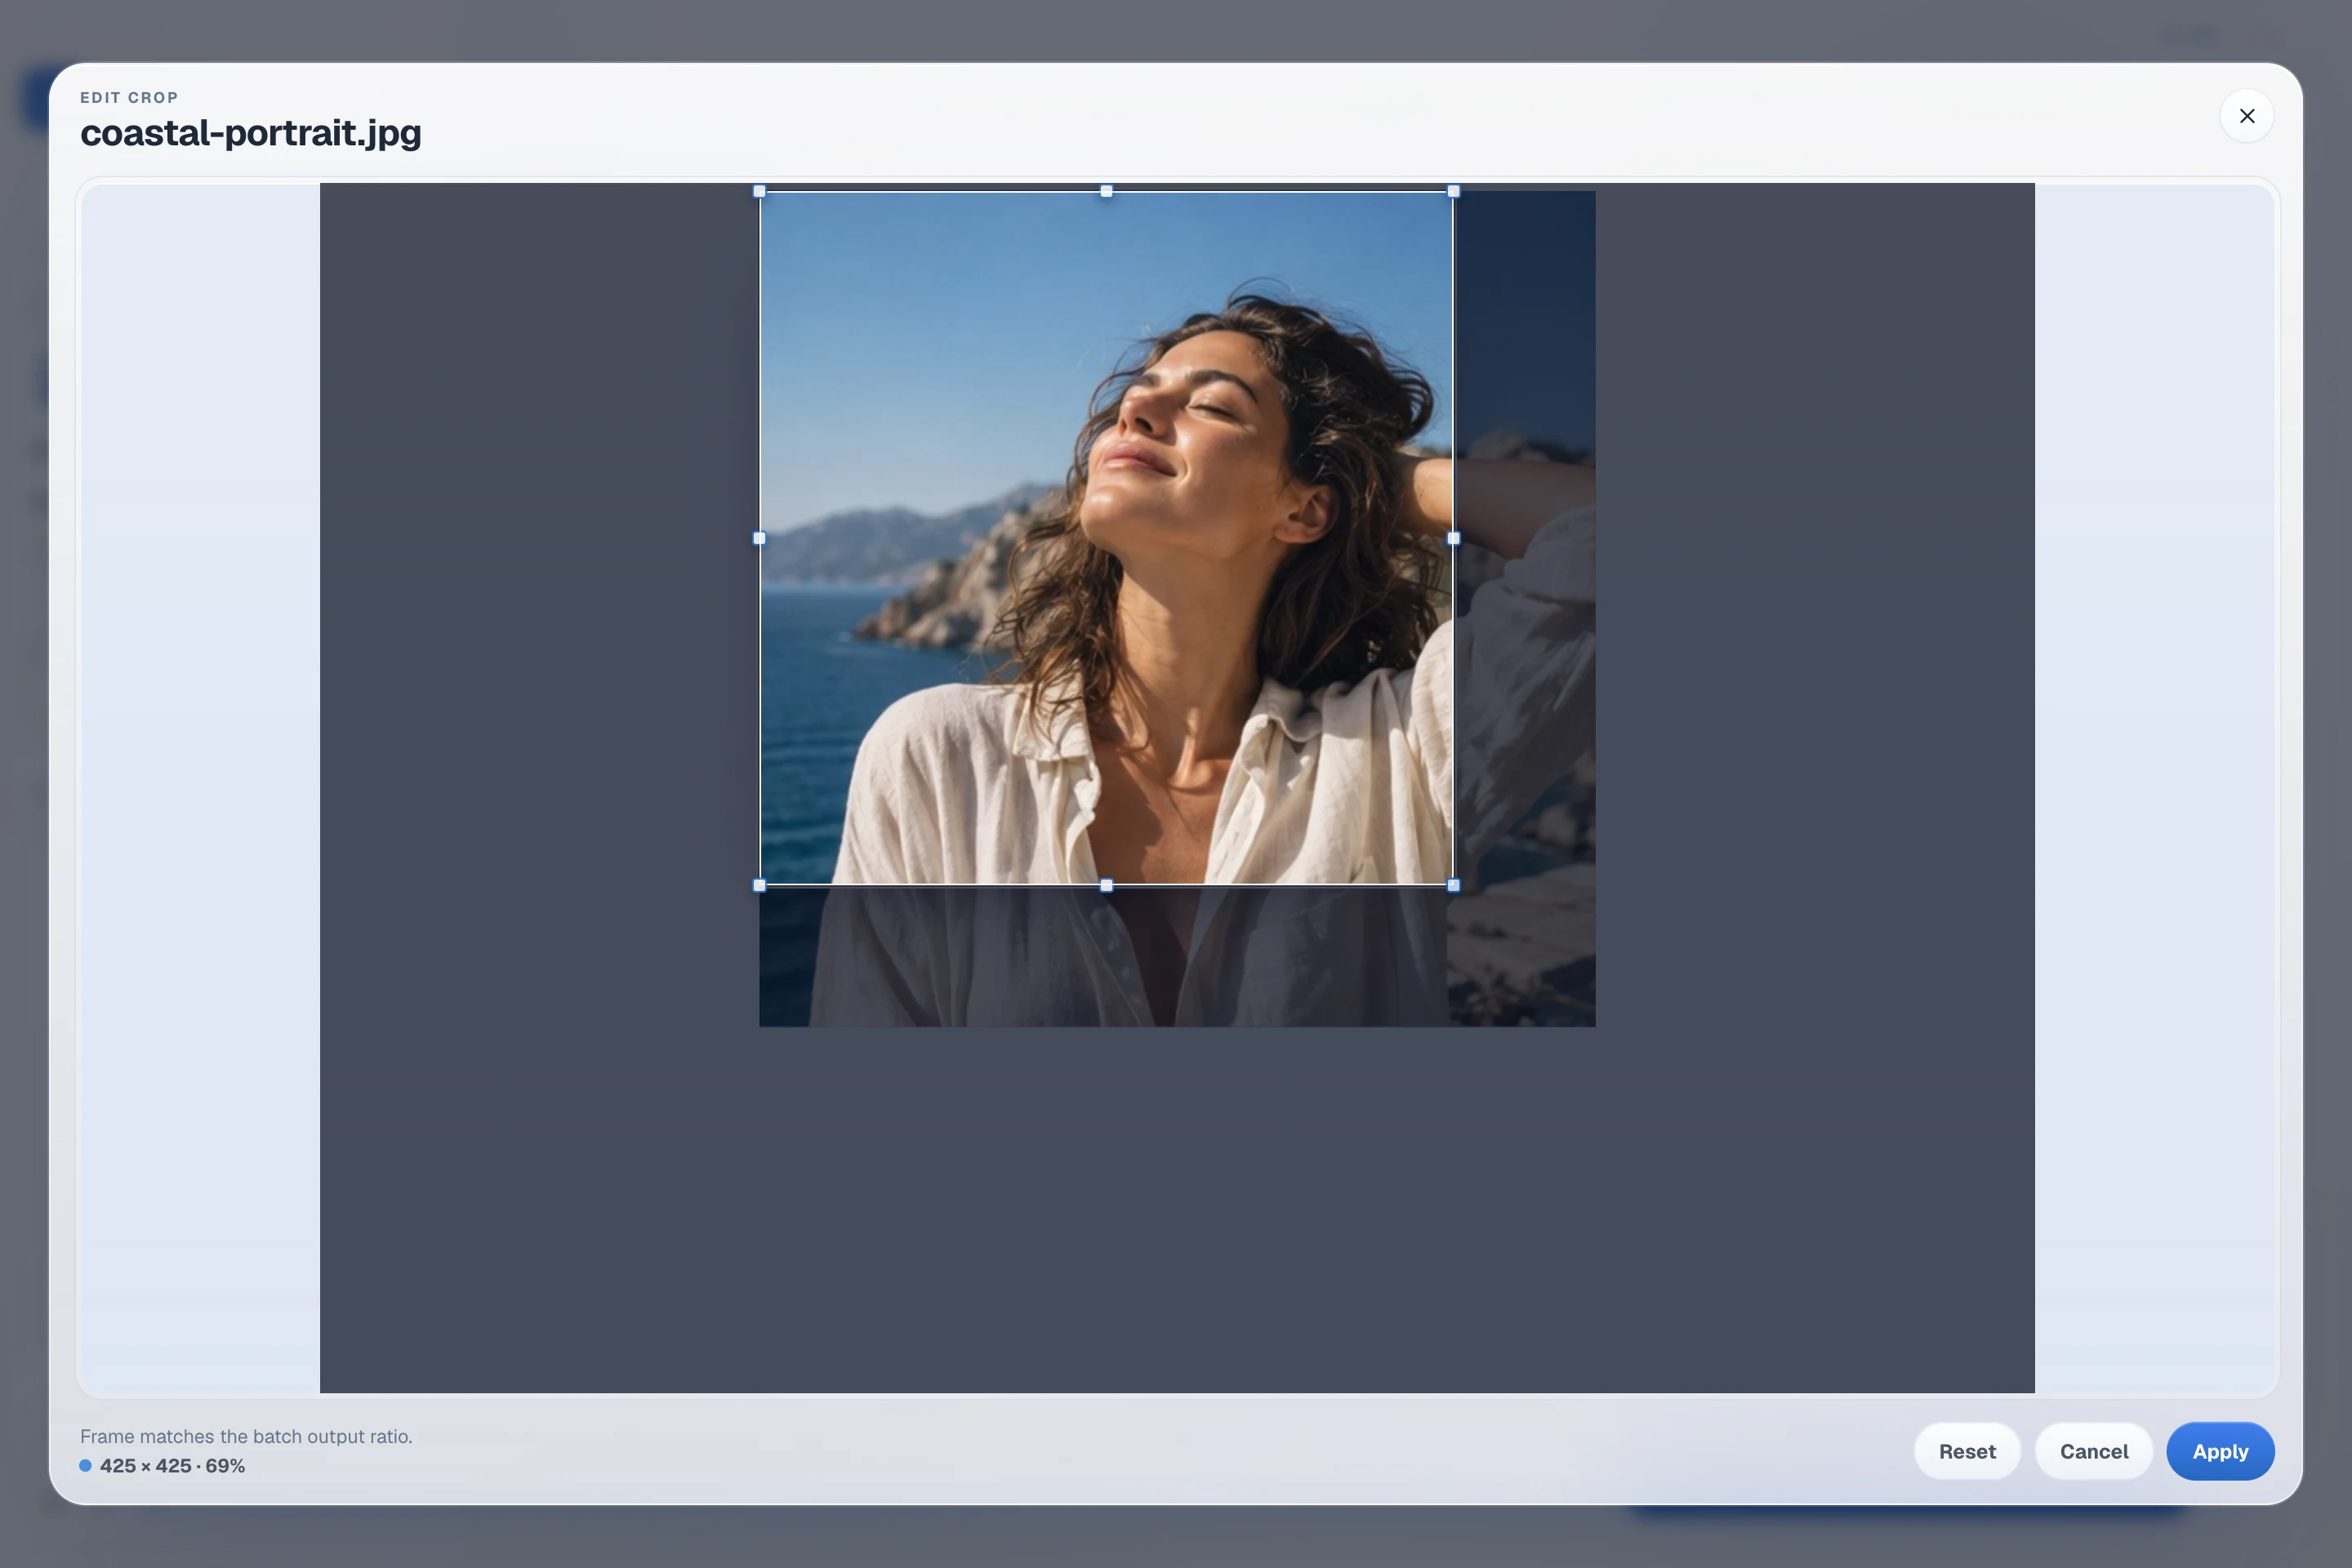
For Fill, check the subject in every photo. A centred crop can cut off a face near the edge. Open Edit crop, move the frame to the part you need, and apply it. Frostbatch applies the individual crop before the batch resize.
3. Choose a format your website accepts
For photographs, try WebP if your publishing system accepts it. WebP supports both lossy and lossless compression, plus transparency; see Google’s format documentation. JPEG is another practical choice when you need a photo file that your upload workflow already supports. Use PNG when the job calls for lossless graphics or transparent assets and your destination requires PNG.
Frostbatch opens JPEG, PNG, WebP, AVIF, TIFF, and HEIC images and exports JPEG, PNG, WebP, AVIF, and TIFF. Choosing Original format for a HEIC source produces a JPEG.
Start with quality 90 for a lossy WebP or JPEG export, then inspect the result. Lower quality may save more space, but fine texture, lettering, and smooth gradients can show damage. The same quality number does not mean identical output across formats.
4. Export a batch and inspect the actual files
The recording below uses 6 generated sample photos, originally 512 × 512 pixels. It applies a crop to one photo and exports the batch as 400 × 400 WebP images at quality 90.
Playback is unavailable. Open the recording ↗
- Original files
- 687.5 kB
- Exported images
- 276.3 kB
- Reduction in this batch
- 60%
Totals are the image files themselves, excluding the ZIP container. This small demonstration combines resizing, cropping, and lossy encoding; it is not a compression-only benchmark or a prediction for full-resolution camera photos.
Open a few exports at their intended display size, and zoom in to inspect edges, faces, and text. Check the dimensions and extension, then upload one image to your website before sending the rest. A smaller file is useful only if it still looks right where it will be shown.
5. Save the settings for the next folder
Once the export works for your page, save it as a preset with a name that describes the destination, such as “Product cards — square WebP.” For recurring batches, a watch folder can process newly added files using your chosen settings. Check the destination and settings with a small batch before relying on it for a whole folder.
The presets and watch-folder recordings show those workflows in the app.