Resize a folder of images in one pass
Set the size once and it applies to everything in the queue. The only real decision is what should happen when your target shape and the image's shape disagree — and Frostbatch shows you the answer before you run anything.
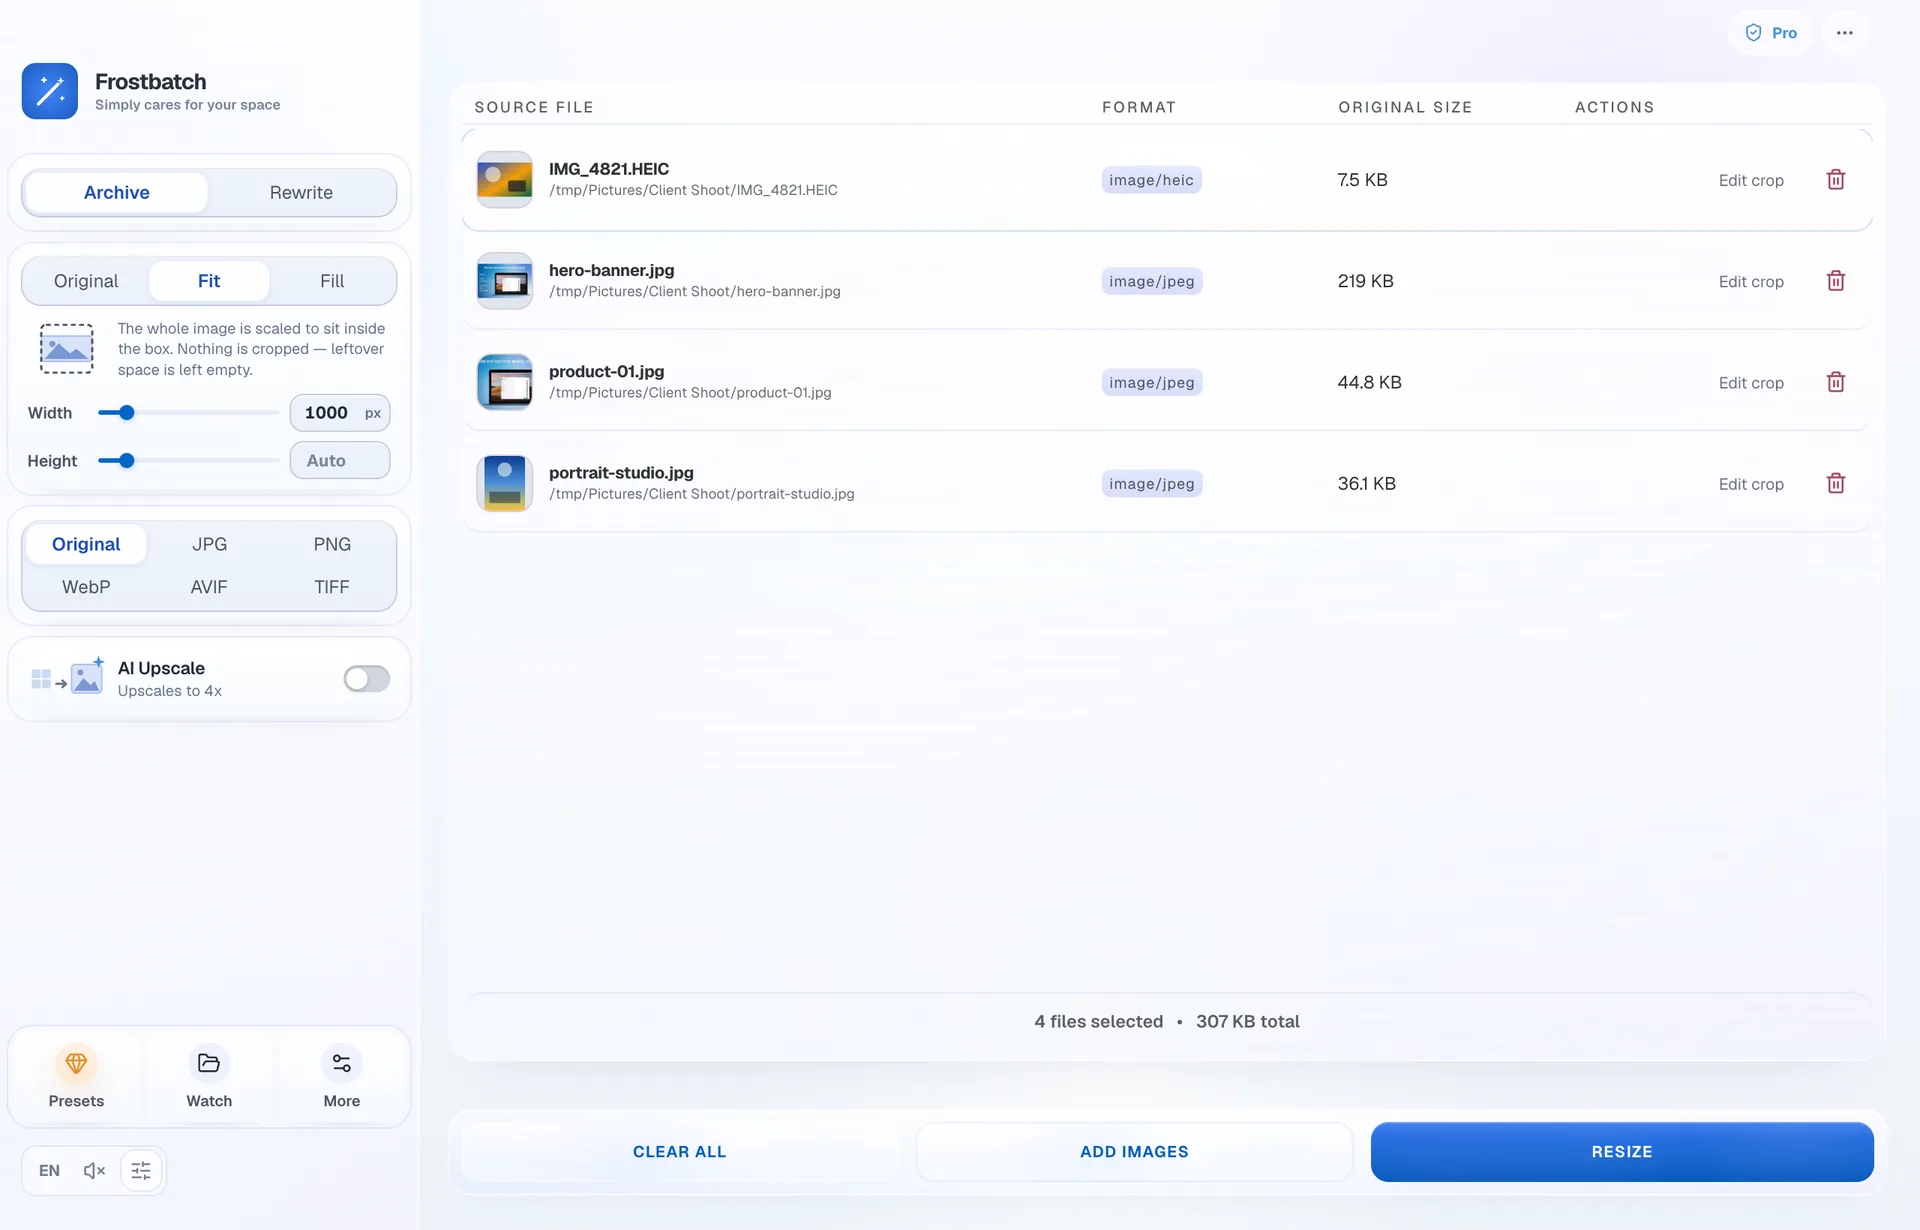
Fit, Fill, Original
The whole resize behaviour comes down to which of these you pick.
Fit
The whole image is scaled to sit inside the box. Nothing is cropped, and leftover space is left empty. Use it when the entire frame matters.
Fill
The image covers the box completely and anything past the edge is cropped. You always get exactly the dimensions you asked for.
Original
Dimensions are left alone. Useful when you only want to convert the format, change quality, or strip metadata.
Width and height are independent
Each has its own switch. Turn on width alone and images scale to that width, keeping their aspect ratio. Turn on both and you have defined a box, which is where Fit and Fill start to differ from each other.
The sliders scale to the values you are actually using rather than stopping at some fixed maximum, and each field shows its unit inside the box, so there is no guessing whether a number is pixels or percent.
Where Fill crops from
When Fill has to discard part of the frame, the crop anchor decides which part survives. Six anchors are available:
- Centre — the default, and the right answer most of the time.
- Attention — picks the busiest region of the image rather than the middle.
- Four corners — top-left, top-right, bottom-left and bottom-right, for when the subject is reliably in one place.
If a particular image needs something the anchors cannot express, you can draw the crop yourself before the batch runs.
What comes out
Two destinations. Archive collects the results into a zip and opens a
save dialog as soon as it is ready — the filename is batch- plus a
timestamp, and you can change that prefix in settings.
Rewrite writes over the originals in place.
Alongside the resize you can set output format and quality, optimise PNGs, choose TIFF compression, and keep or clean metadata.
| Modes | Fit, Fill, Original |
|---|---|
| Dimensions | Width and height, each independently switchable, from 1px up |
| Crop anchors | Centre, attention, and the four corners |
| Output formats | JPG, PNG, WebP, AVIF, TIFF, or Original |
| Destinations | Zip archive, or rewrite the originals in place |
Resizing questions
What is the difference between Fit and Fill?
Fit scales the whole image to sit inside the box you set, so nothing is cropped and any leftover space is left empty. Fill scales the image to cover the box completely and crops whatever hangs over the edge, so you always get exactly the dimensions you asked for.
Can I set only a width and let the height follow?
Yes. Width and height are separate switches. Turn off height and the image keeps its aspect ratio, scaling to whatever width you set.
How small can I go?
Down to 1 pixel. The preset catalogue includes 16px favicons, so there is no artificial floor.
Where do the resized files end up?
Either in a zip you choose a location for, or over the originals in place if you pick Rewrite. The zip is named batch- plus a timestamp by default, and the prefix is configurable.
Keep reading
One width. The whole folder.
Five days free, then $9.99 once. macOS 13 or newer.